Trend Model Baju Batik Kantor Wanita Terbaru Masa Kini
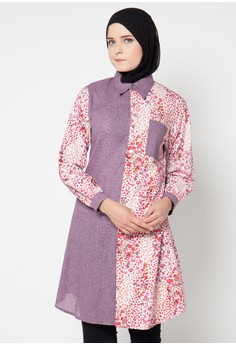
Model baju batik kantor Tidak hanya melulu soal tampilan saja yang jadi perhatian, melainkan juga persoalan nilai bahan. Mengingat faktor inilah yang biasanya menjadi penentu laris tidaknya sebuah barang di pasaran. Faktor ini terbukti untuk memberbagi rasa enjoy serta puas terhadap para konsumen. Jadi para desainer pun juga bersaing serta berlomba untuk memberbagi yang paling baik untuk para pelanggannya. Tak sedikit kombinasi yang di tawarkan dalam beberapa model baju batik kantor wanita terakhir berikut ini. Hasil kombinasi antara batik dengan kain polos, menjadi terus terkenal saat ini. Sebab terbukti bakal menghasilkan gaya busana yang unik serta bergaya kekinian. Disebuah instansi biasanya meharuskan untuk mengenakan batik di hari-hari tertentu, jadi batik sekarang juga tak sedikit di cari. Tak ketinggalan para wanita karir, untuk melengkapi kecantikan mereka saat bekerja. Serta juga untuk memenuhi keharusan tersebut, kamu dapat memilih beberapa model baju batik kan...